Perfect Home Guard Camera Setup Tutorial: Complete Step-by-Step Guide for Brisbane Homeowners
You've finally decided to install home guard cameras to protect your family—but now you're staring at the equipment wondering, "Where do I even start?"
You're not alone. Most Brisbane homeowners feel overwhelmed during setup, worried they'll miss a blind spot or configure something wrong.
The good news? Setting up your home guard camera setup doesn't have to be complicated when you follow the right process.
Last month, I met Sarah from Kenmore who'd been researching cameras for three weeks but couldn't pull the trigger. After we walked through exactly what she needed, she realized it was simpler than she thought. Two weeks after installation, someone tried to steal a package from her porch - and she had crystal-clear footage that led to an arrest within 24 hours.
In this tutorial, you'll learn exactly how to set up your home guard camera system from start to finish. We'll cover optimal camera placement for maximum coverage, proper installation techniques that withstand Brisbane's weather, mobile app configuration for easy monitoring, and professional tips that make sure your system actually works when you need it most.
Let's get started.
Before You Start: Essential Planning for Your Home Guard Camera Setup
Here's the thing most people get wrong - they buy cameras first, then figure out where to put them. That's backwards.
Walk your entire property like you're planning to break in. Sounds weird, but it works. Where would you approach if you wanted to get in unnoticed?
Note every vulnerable point:
Every door (front, back, side, garage)
Ground-floor windows hidden by bushes
Side gates leading to backyards
Dark corners where someone could hide
Areas blocked from neighbor's view
Your garage and back door are usually more vulnerable than your front entrance. Why? Because neighbors can see the front. The back? Not so much.
What You Actually Need
Your cameras capture footage - bullet cameras (obvious deterrent) or dome cameras (low profile). Wired cameras are more reliable than wireless, especially during Brisbane's summer storms.
Your recording device (NVR or DVR) stores everything. Think of it like a specialized computer recording what your cameras see.
Power supply - PoE (Power over Ethernet) is best because one cable handles both power and data. Otherwise you need separate power cables to each camera.
Don't overthink this. Just make sure everything works together and handles Brisbane's climate.
Tools You'll Need
Power drill with appropriate bits (masonry for brick, timber for wood)
Decent ladder - don't climb on plastic chairs
Spirit level for proper alignment
Marine-grade silicone sealant
Cable clips and conduit
Voltage tester
Smartphone for testing views

Step 1 - Strategic Camera Placement (The Most Critical Decision)
This is where most DIY installations go wrong. Get placement right and you've got solid protection. Get it wrong and you've wasted your money.
Front Entry Coverage
Your front door is where 67% of burglars check first. You need to capture faces, not just record that someone was there.
Cover the entire porch, path to your door, and letterbox. That 3-4 meter zone in front of your door is gold for face capture.
Watch out for sun glare. Brisbane's afternoon sun is brutal. If your camera faces west, angle away from direct sun or use cameras with good WDR settings.
Back Door and Side Gate Monitoring
Michelle in Carindale had three cameras on her front. Beautiful setup. Burglars came through her side gate and her cameras didn't see anything.
Your back door and side gates need equal attention - that's where burglars prefer to work, away from street view.
Set up overlapping coverage so if one camera's blocked, another catches it. Configure motion detection properly - you want alerts for people, not every leaf.
Garage and Coverage Overlap
Position cameras to capture your driveway and garage entrance. For license plates, you need specific angles with good night vision.
Here's professional thinking - every camera should overlap with at least one other. Why? Cameras fail. Spiders build webs. Birds block views. Backup coverage means you're never completely blind.
With 4 cameras you get maybe 60% coverage. Six cameras = 85%. Eight or more = 95% with good overlap.
Most Brisbane homes need 4-6 cameras for solid protection.
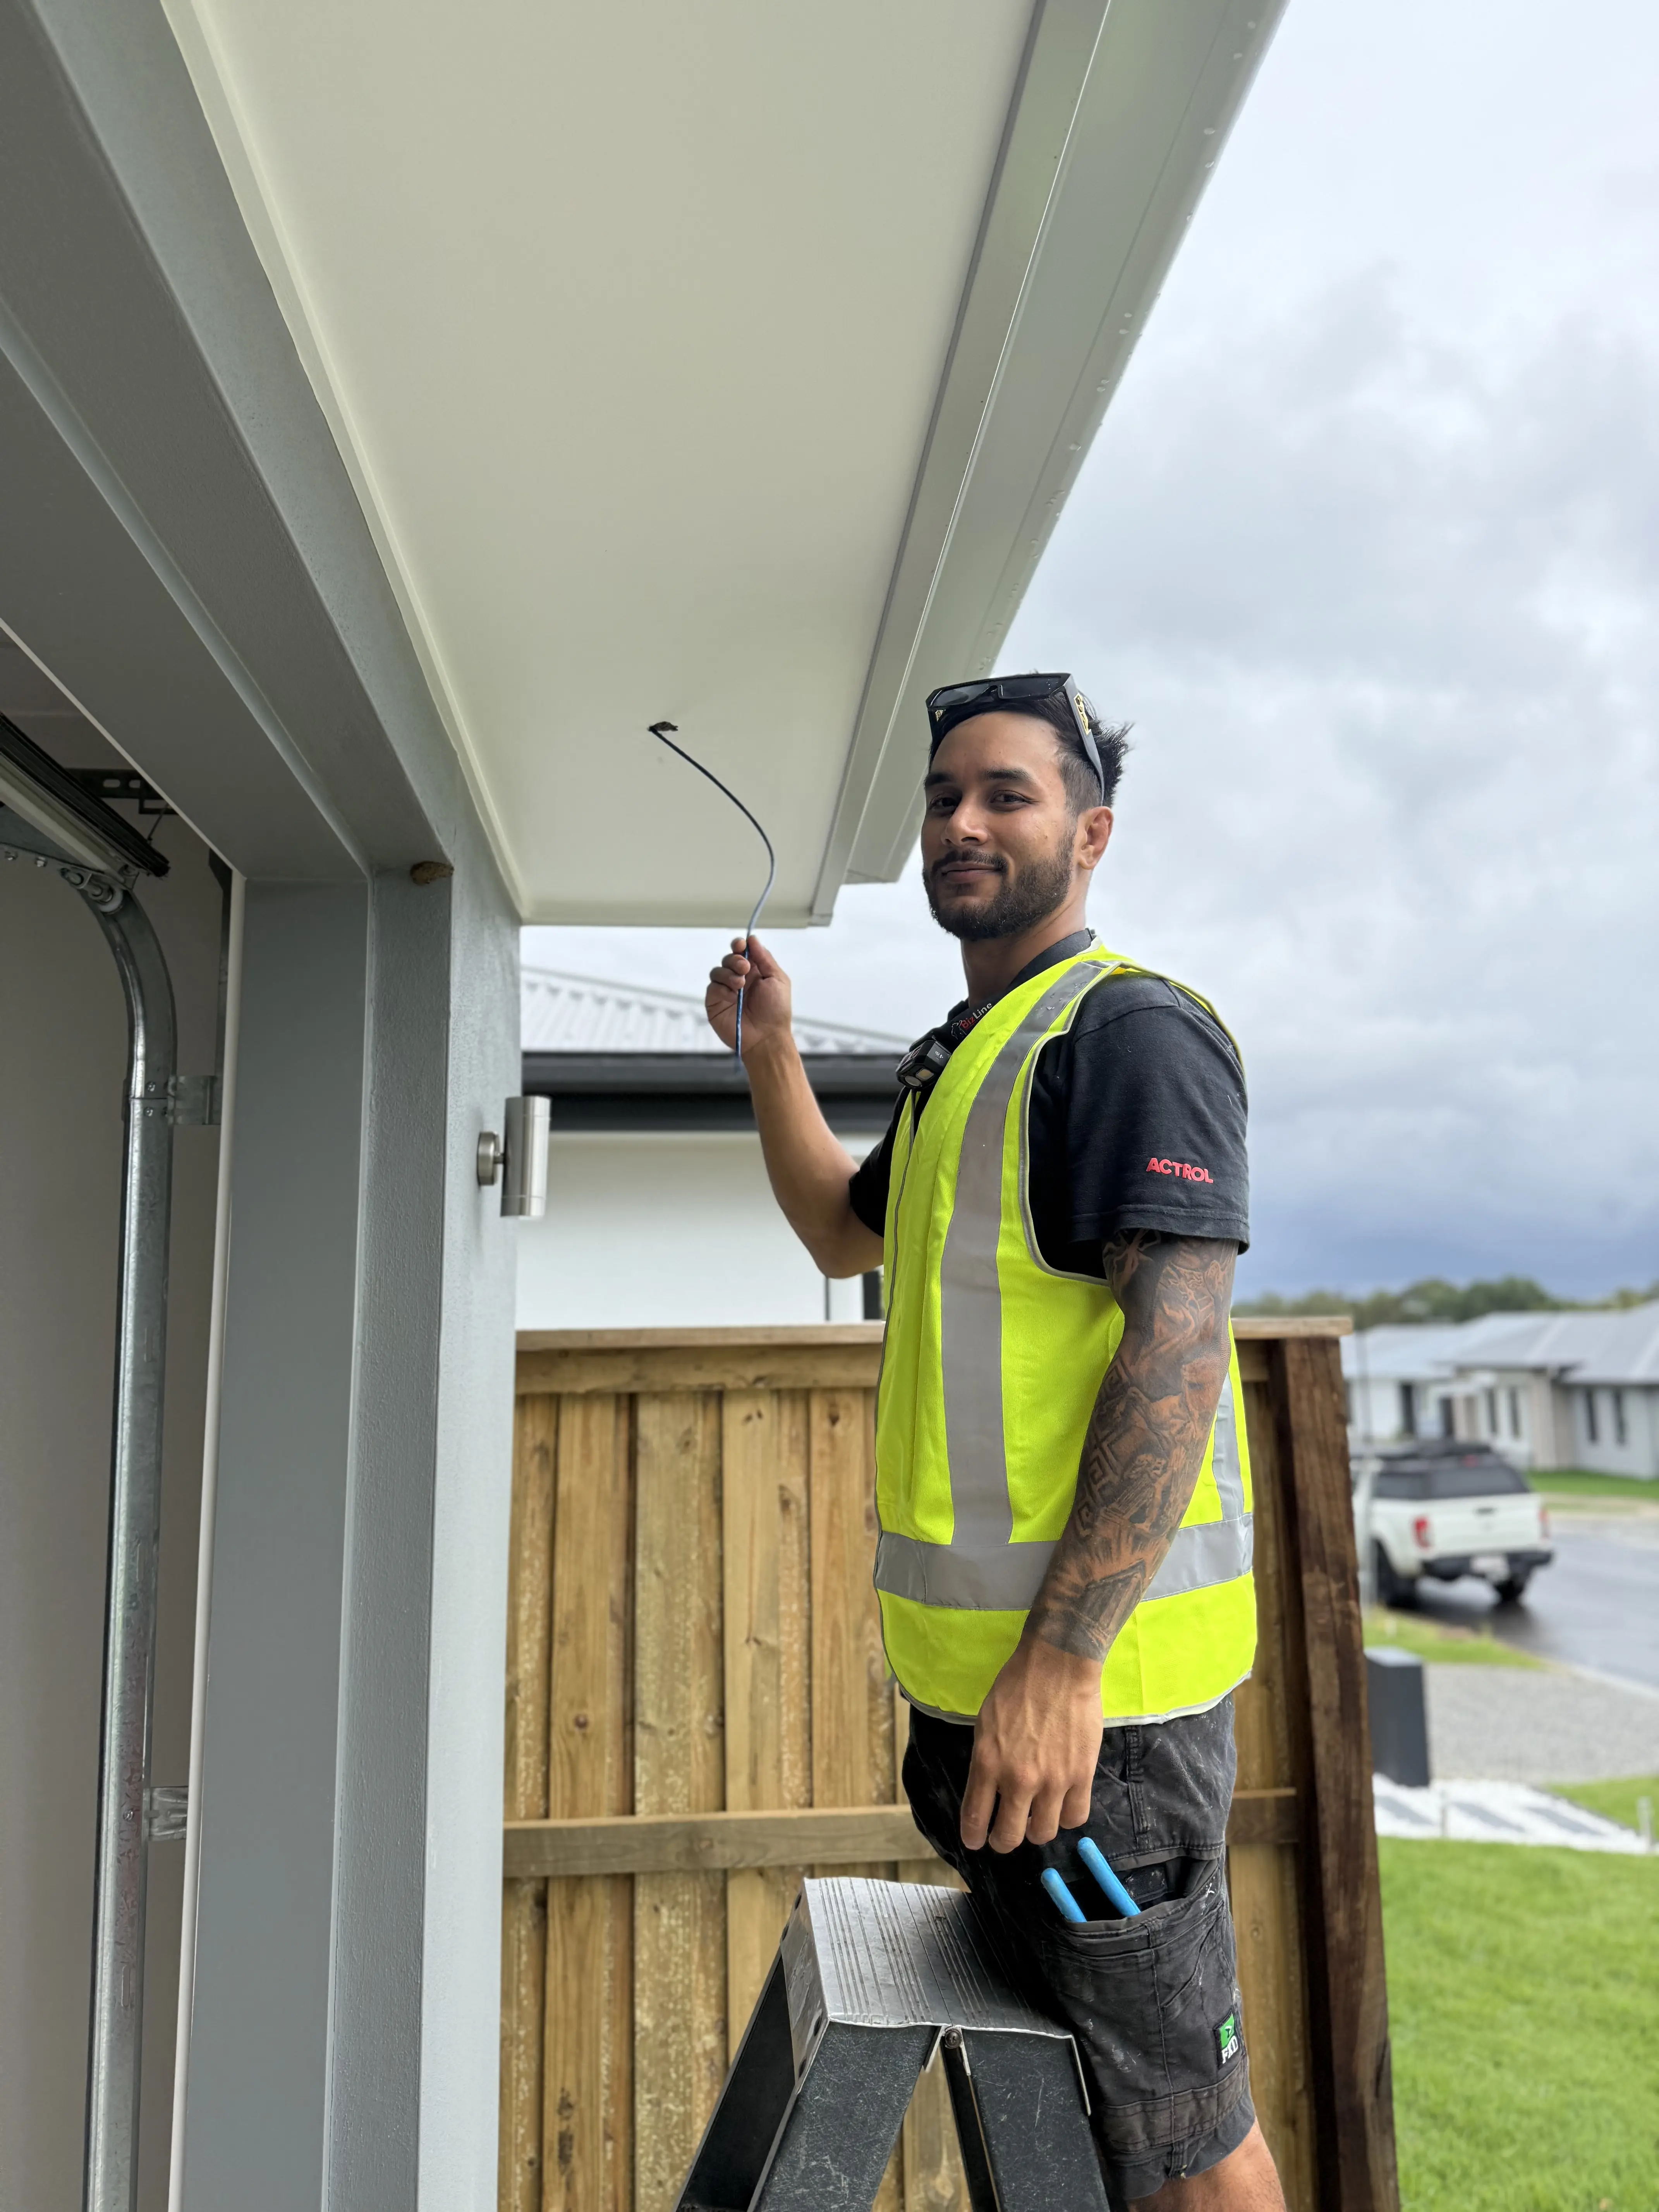
Step 2 - Professional Installation Techniques
You can have the best cameras in the world, but sloppy installation means you're wasting money.
Mounting Hardware
Your wall type matters. Use the wrong fixing and your camera's coming down.
Get proper weatherproof junction boxes rated at least IP66. That's minimum for Brisbane's humidity.
Installation Process
Use a spirit level to mark positions. Before drilling - use a cable detector to check for electrical wiring. I've seen people drill straight into power cables.
Drill pilot holes first. Plan cable routing before drilling main holes. Hide cables through roof cavities or behind downpipes when possible.
Weatherproofing for Brisbane
This is where DIY installations fail most often here.
Michelle from Carindale bought "waterproof" cameras and installed them herself. After Brisbane's first summer storm, two cameras stopped working. Water damage was obvious. The cameras were rated for weather, but installation wasn't properly sealed.
Cost? $1,200 in cameras lost, plus $2,400 to start over correctly.
Proper weatherproofing:
Marine-grade silicone at every entry point
Drip loops in all cables
Junction boxes positioned to deflect water
UV-resistant cable clips
Test with a garden hose before finalizing. If water gets in during testing, you'll know now instead of after the first storm.
Step 3 - Power and Network Configuration
Power Options
PoE is best - one cable does everything. PoE systems have 40% fewer connection failures than separate power.
12V DC power supplies are simpler upfront but you need power points near every camera. Gets messy fast.
Network Connection
Wired Ethernet is most reliable. WiFi seems easier but four cameras streaming over WiFi chokes bandwidth, especially during Brisbane storms.
If using WiFi, use 2.4GHz for range. Calculate bandwidth: each 1080p camera uses 2-4 Mbps. Four cameras = 8-16 Mbps needed.
Storage Planning
A 2TB hard drive recording 24/7 at 1080p from four cameras gives you about two weeks before overwriting. Want a month? Need 4TB.
Motion-triggered recording saves storage and makes finding events easier. You'll get weeks or months instead of days.
Security Settings
Critical: Change default passwords immediately. 68% of hacked cameras used default passwords.
Change NVR/DVR admin password
Change each camera's password
Enable encryption
Update firmware
Use non-standard ports
Step 4 - Mobile App Setup and Remote Access
Download your system's official app from Apple App Store or Google Play Store only.
Create your account, allow necessary permissions (camera for QR scanning, notifications for alerts, network access).
Adding Cameras
Most systems use QR code scanning. Scan the code on your camera or NVR and it connects automatically.
Name cameras properly:
Front Door
Driveway
Back Door
Side Gate
Not "Camera 1" and "Camera 2." When you get an alert at 2am, you need to know exactly where to look.
Configure Alerts
Set motion detection sensitivity carefully. Too high = alerts for every leaf. Too low = missed events.
Start with medium sensitivity and adjust. Use zone-based detection - draw zones covering your property, exclude streets with constant traffic and trees.
Sarah from Kenmore got 50+ alerts daily until we set proper zones. We narrowed detection to just her property - alerts dropped to 3-4 relevant ones.
Test Everything
Test on home WiFi first. Then test on mobile data from various locations. Make sure both you and your partner can access the system.
Test during peak evening hours when everyone's using internet. If connection is solid then, you're good.
Common Setup Mistakes Brisbane Homeowners Make
1. Mounting Too High - At 4 meters you're filming tops of heads. Mount at 2.5-3 meters for face capture.
2. No Weatherproofing - Brisbane's humidity and storms destroy unsealed installations. Marine-grade silicone isn't optional.
3. Pointing Into Sun - Western-facing cameras get blinded every afternoon. Angle away from direct sun.
4. Forgetting Blind Spots - Walk your entire property perimeter. Every access point needs coverage.
5. Default Passwords - Change every password during setup. Hackers scan for default credentials.
6. Inadequate Night Lighting - Most break-ins happen at night. Test your night footage at 10pm. If you can't identify yourself, it won't identify burglars.
7. No Overlap Coverage - Each camera should overlap with another for redundancy.

Professional vs DIY Installation: Making the Right Choice
Rate yourself 1-5 on each:
Technical comfort with electronics
Tool availability and experience
Time investment ability (8-12 hours)
Physical ability for ladder work
Problem-solving confidence
Network troubleshooting skills
24-30 points: DIY could work
16-23 points: Consider professional
Below 16: Professional strongly recommended
What Professional Installation Includes
Site assessment and custom security design (800+ installations worth of expertise)
Optimal placement based on years of experience
Weatherproof installation guaranteed for Brisbane climate
Network security configuration
Complete training until you're comfortable
Lifetime support and maintenance
5-year warranty and service guarantee
Ready to Protect Your Brisbane Home?
No pressure. No obligation. Just expert advice.
What happens next:
📞 Call: +61409809577 / 0409809577
Now make the decision - DIY or professional, act now or wait, protect your family or keep worrying.
But if you're tired of losing sleep wondering if your family's safe, if you're sick of checking locks at 2am, if you want to enjoy holidays without constant worry about your empty house - maybe it's time to stop researching and start protecting.
Your family's safety is worth more than a few thousand dollars. And your peace of mind? That's priceless.