7 Small Business Camera Installation Mistakes to Avoid
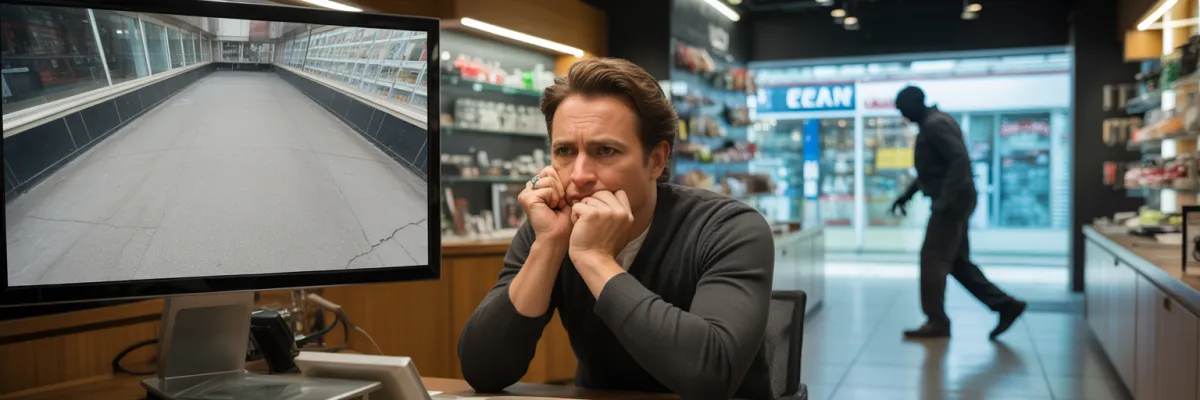
You've just invested in security cameras. Three weeks later, someone breaks in through the back door—the one spot your cameras don't cover. The police can't help. Your insurance claim gets questioned.
73% of small business camera installation systems have at least one critical flaw that compromises their effectiveness—discovered only after an incident happens.
Camera installation isn't just about mounting hardware and hitting record. It's about strategic placement, proper coverage, and understanding how climate affects equipment longevity. Get it wrong, and you're paying twice.
This guide reveals the 7 most common camera installation mistakes small business owners make—and exactly how to avoid them.
THE 7 COSTLY MISTAKES
Mistake #1: Inadequate Coverage of Critical Entry Points
Why This Mistake Happens
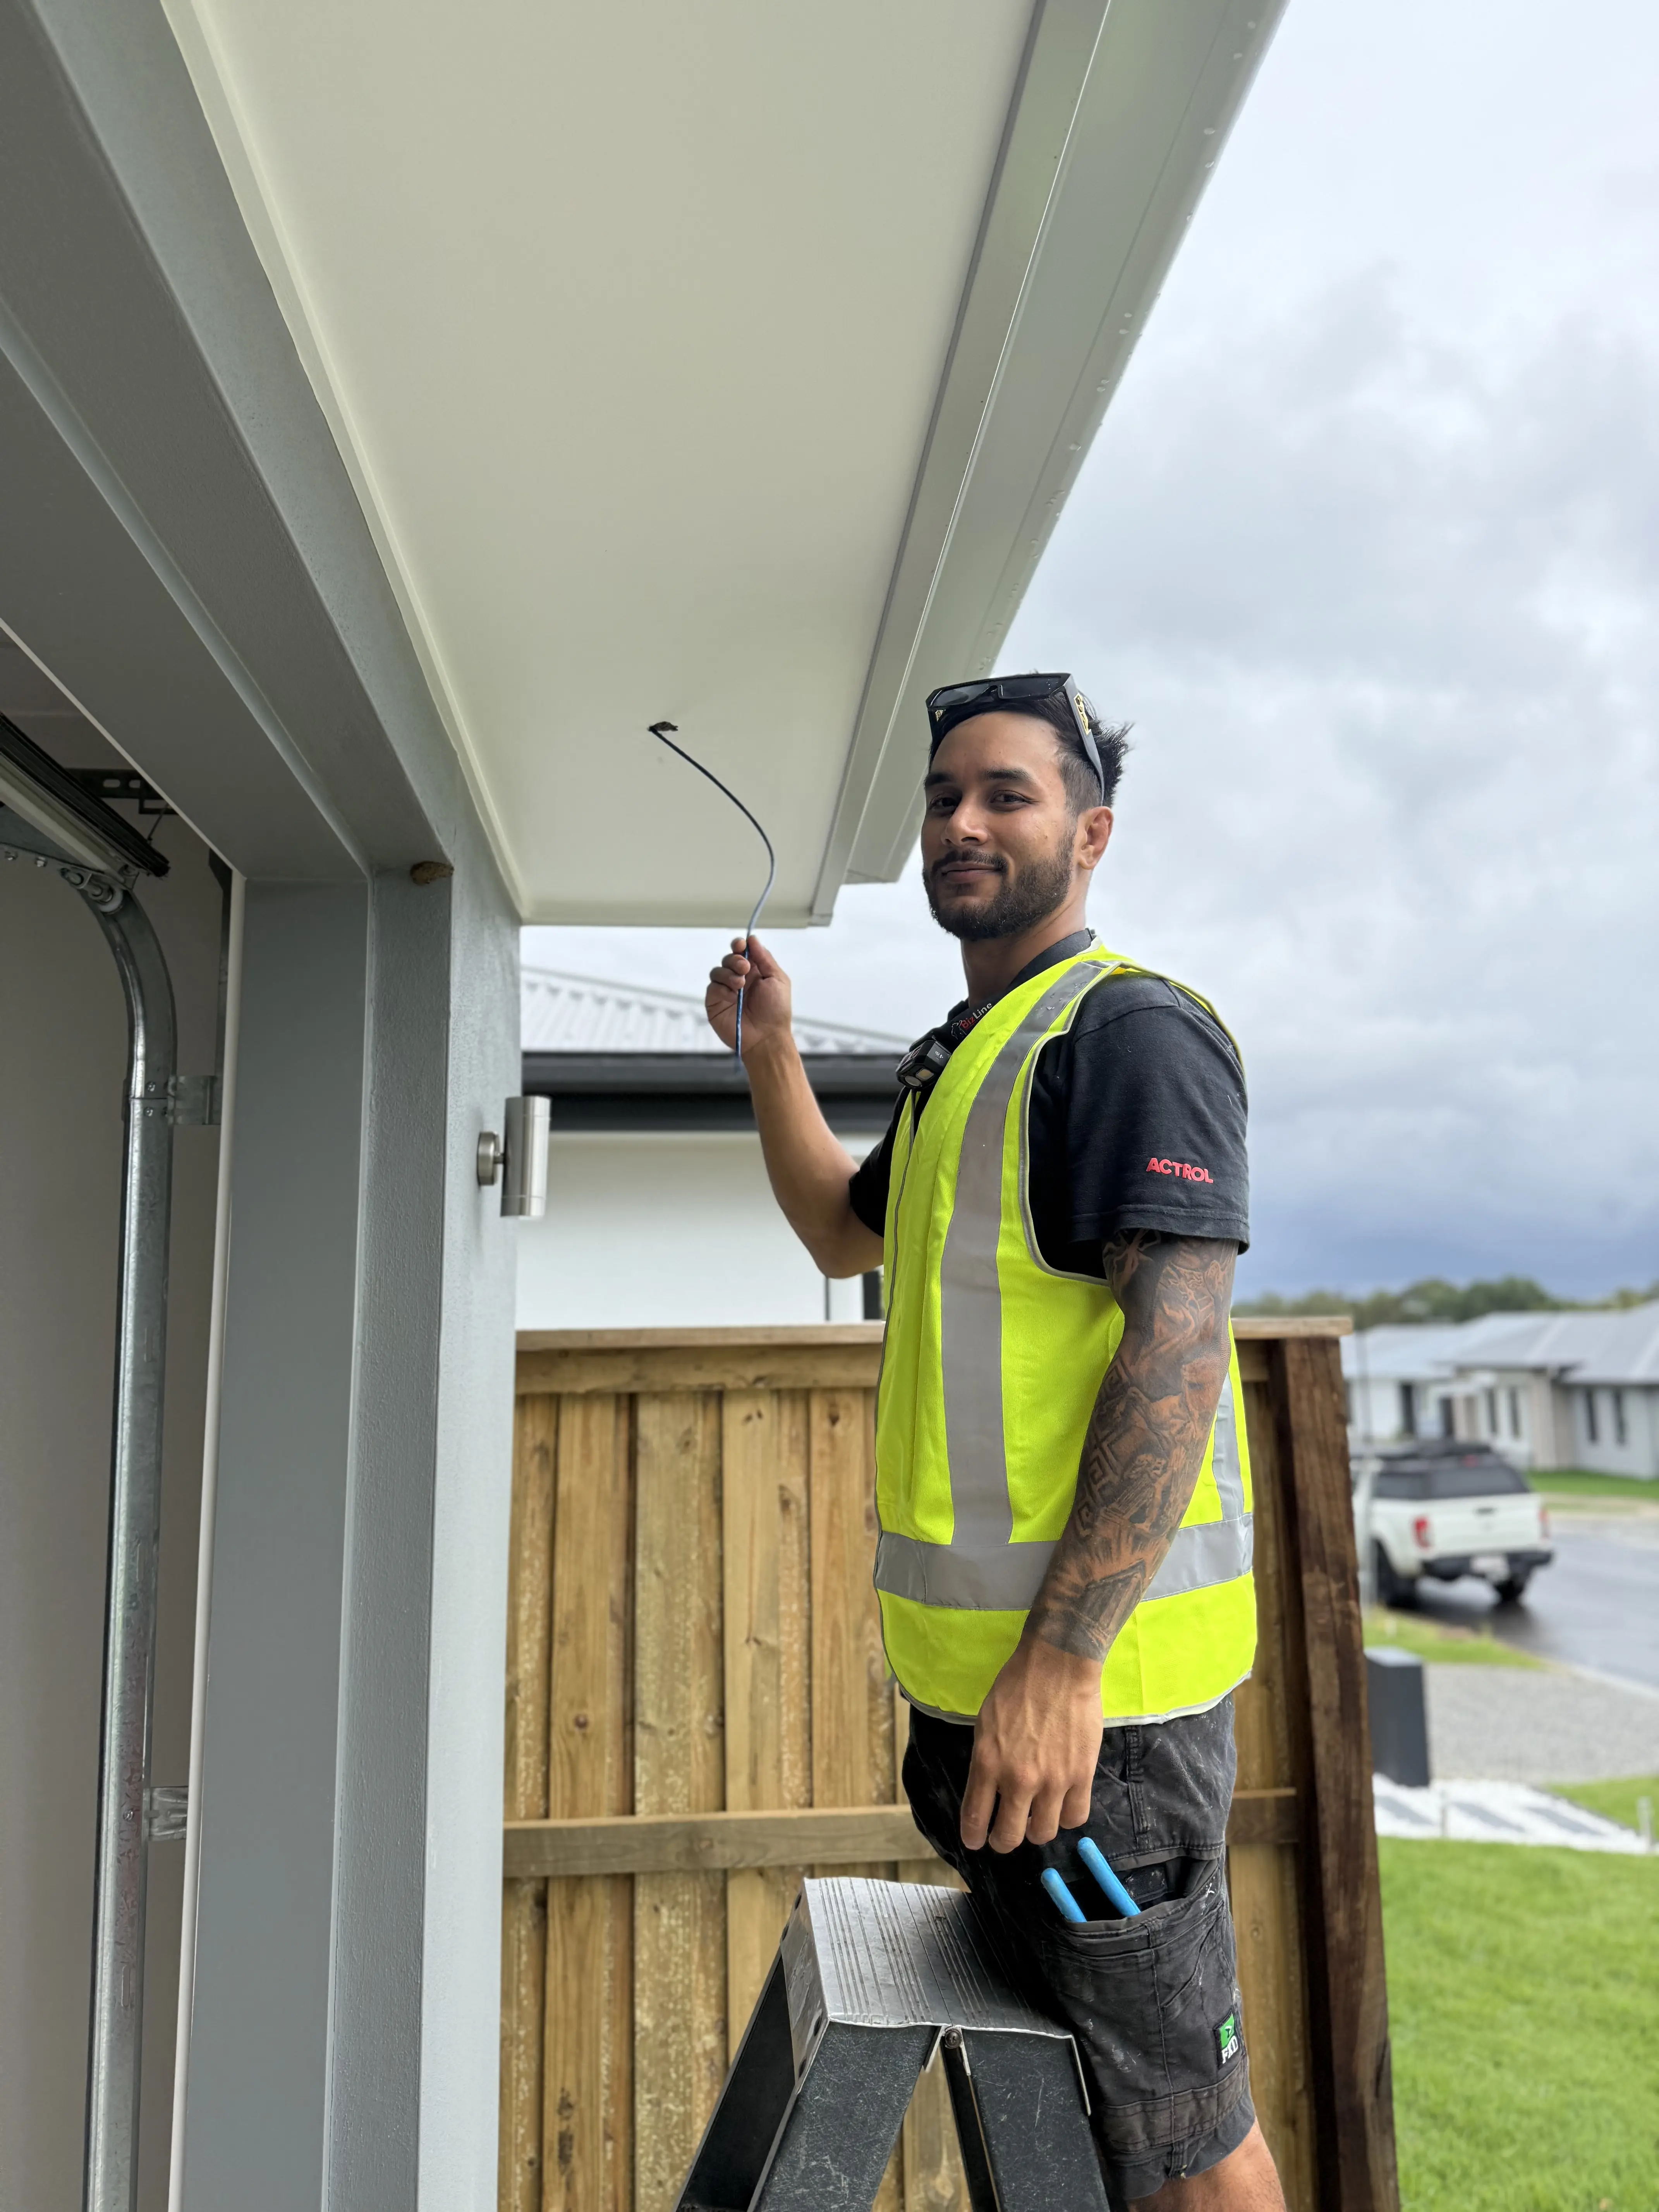
Most business owners focus on what seems obvious when planning their small business camera installation. The cash register gets a camera. The main entrance gets a camera. Done, right?
Not even close.
Business owners naturally think about where they spend time during business hours. But burglars aren't coming through your front door at midday. They're coming through the back entrance in the middle of the night.
There's also this "we'll add more later" mentality. Budget's tight, so you figure you'll get a few cameras now and expand later. But "later" never comes, and you're left with coverage gaps that leave vulnerable spots completely exposed.
The Real Cost
A retail shop owner installed four cameras—front door, register, main floor, and stockroom entrance. Three months later, someone broke in through the uncovered back door and cleaned out high-end inventory.
The cameras? Useless. They showed the stockroom door opening, but no footage of the break-in. No view of suspects. Nothing police could use. Insurance reduced his payout because coverage was "inadequate."
68% of commercial break-ins occur through back or side entrances—the exact spots most owners ignore. 43% of burglars choose targets based on visible security gaps.
How to Avoid This Mistake
Map every single entry point before buying anything:
All doors (front, back, side, fire exits, loading docks)
Ground-floor windows
Loading docks and service areas
Roof access points
Parking areas
Then identify "attraction zones"—safes, stockrooms, medication storage, cash counting areas.
Calculate minimum cameras: one per entry point, plus coverage overlap, plus attraction zones. That's your baseline.

Mistake #2: Wrong Camera Placement Height and Angles
The Science of Proper Placement
Having cameras is only half the battle. Where you put them and how you angle them determines whether they're useful or just expensive decorations.
Optimal height: 2.5 to 3 meters. This is the sweet spot for facial recognition. With the right downward angle, you capture clear images of faces without creating blind spots or making cameras easy targets for tampering.
Too low? Someone can reach it with a stick, spray paint it, or yank it down.
Too high? All you're getting is footage of tops of heads. Useless for identification.
The angle matters just as much. You want 15 to 30-degree downward angle for best facial capture.
Common Placement Errors
Mounting at ceiling height in high-ceiling warehouses. The footage is worthless—you see shapes moving but can't identify anyone.
Placing directly above doors. All you capture is hats, hoods, and tops of heads. Never faces.
Positioning looking into bright sunlight. The sun overwhelms the sensor and everything turns into bright blur.
Installing at easy-reach height. Saves money on installation, costs thousands when someone disables cameras before breaking in.
Real-World Impact
A café owner installed cameras herself, mounted high at 4.5 meters. Later someone broke in. Cameras captured everything—clear footage of the entire break-in.
Except police couldn't identify the person. Angle too steep, height too high. All the footage showed was a person in dark clothing with head down. No face. She had to upgrade her entire system.
The Right Way
Entry doors: 2.5 meters height, 20-degree downward angle, capturing 1-2 meters beyond doorway
Point-of-sale: Overhead but angled to capture register AND customer faces
Parking areas: Elevated but positioned to capture license plates
Corridors: End-to-end coverage, 3 meters height maximum
Storage rooms: Corner placement at 2.5 meters, 25-degree angle
Mistake #3: Ignoring Lighting Conditions and Night Coverage
Why Lighting Makes or Breaks Effectiveness
73% of small business break-ins happen outside business hours. After you've locked up and gone home.
That's exactly when most security camera systems fail.
Standard cameras become useless in low light without proper features. You end up with grainy, dark footage. Maybe you can tell someone was there, but you can't identify them, can't see what they took, can't provide anything useful.
Most businesses discover lighting issues only after an incident. You test cameras during the day, everything looks great. Then something happens at 2am and you realize your system is recording nothing but darkness.
The Three Deadly Lighting Mistakes
1. Cameras Facing Direct Light Sources - Installing cameras looking through windows, opposite bright lights, or facing sunrise/sunset creates complete washout. You end up with footage of person-shaped shadows. No face. No identifying features.
2. Insufficient Night Vision Capability - Basic cameras need light to see. Without infrared or proper low-light sensors, they're useless after dark. Some cameras marketed as "night vision" only work up to 5 meters—fine for doorsteps, not for monitoring larger spaces.
3. No Supplementary Lighting Strategy - Even good cameras with built-in IR work up to 10-15 meters. Beyond that, darkness. Businesses rely solely on built-in IR without adding motion-activated lights or positioning cameras to use existing lighting.
Solution Framework
Minimum: cameras with IR night vision with 15-meter+ range.
Better: Cameras with starlight or low-light sensors capturing color footage at night.
Best: Hybrid cameras with both visible light and IR capability, automatically switching between modes.
Strategy:
Do night-time site visit before finalizing installation
Add motion-activated LED flood lights at dark entry points
Position cameras to use supplementary light
Test coverage during darkest conditions
Mistake #4: Using Wrong Camera Types for Climate Conditions
Why "Outdoor-Rated" Isn't Enough
People buy cameras labeled "outdoor rated" and assume that's good enough. It's not.
IP ratings represent real differences in how well equipment survives harsh conditions. Equipment failure rates are 40% higher in coastal and subtropical climates. Cameras that work elsewhere for years might only last half that time before moisture, heat, and UV exposure kill them.
Climate Challenges
High humidity causes condensation inside housings, corrodes connections, fogs lenses.
Extreme heat stresses components. Put cameras in direct sun and internal temperatures climb higher. Everything breaks down faster.
Intense UV degrades plastic housings quickly. They crack, then moisture destroys internals.
Storm season brings torrential rain, hail cracking housings, high winds testing mounts.
Salt air accelerates corrosion on metal parts, connections, mounting brackets.
Wrong Camera Disasters
Restaurant owner with covered patio used indoor dome cameras. They lasted six months before humidity killed them. Lost footage during failure period.
Gym owner bought cheap "weatherproof cameras" online. Failed after first major storm. No warranty coverage.
Warehouse used standard cameras in dusty environment. Within weeks, lenses covered in dust. Footage unusable.
Choosing Right Cameras
Indoor: Standard dome cameras for retail floors, offices, reception
Covered Outdoor: Minimum IP65 with extended temperature range and UV-resistant housing
Full Outdoor: IP67+ mandatory. Conformal coating on circuit boards. Metal housing for coastal areas. Wide operating temperature range.
Specialized: Dusty locations need enclosed housing with air filtration. High-vandalism areas need impact-resistant domes. Extreme heat needs active cooling.
Climate Survival Checklist
☑ IP66 or IP67 rating minimum for outdoor
☑ Wide operating temperature range
☑ UV-stabilized housing
☑ Conformal coating on circuit boards
☑ Sealed cable entry points
☑ Metal housing for coastal locations
☑ Surge protection
🌦️ IP RATING GUIDE FOR CAMERA SELECTION

Mistake #5: No Backup Power or Internet Redundancy
When Your Security System Goes Dark
92% of small business camera systems have zero backup power. When power goes out, entire security system goes dark for hours where your business is completely exposed.
Power outages create exact conditions where you need security most—that's exactly when it fails.
How Power Loss Compromises Security
Storm-Related Outages: Severe storms knock out power. Security offline for hours. You discover break-in after storm—no footage, no evidence.
Deliberate Power Cuts: Experienced criminals cut external power first. Cameras go dark immediately. Police can't investigate without footage.
Equipment Failure: Power surges damage DVR/NVR systems. Weeks of footage potentially lost.
Backup Power Solutions
Option 1: UPS (Uninterruptible Power Supply) - Battery backup providing hours of runtime. Instant switchover. Best for small systems and short outages.
Option 2: Generator Backup - Automatic start when power fails. Unlimited runtime with fuel. Best for larger businesses and frequent extended outages.
Option 3: Hybrid Solution - UPS provides immediate backup, generator for extended outages. Best for high-value businesses and round-the-clock operations.
Internet Redundancy
Modern systems rely on cloud storage. Great for preventing footage loss if someone steals recorder—but creates vulnerability.
Internet down? No cloud backup recording.
Best approach: Hybrid with both. Local storage for day-to-day access. Cloud backup for critical cameras. Redundancy without paying for full cloud coverage on every camera.
Mistake #6: Insufficient Storage Capacity and Retention
The Storage Trap
You discover theft weeks after it happened. You review footage—it's gone. System only kept limited recordings. Evidence overwritten before you knew you needed it.
Police can't investigate. Insurance claim weakened or denied. You absorb losses that should've been recoverable.
Default settings keep limited footage. Business owners don't understand storage requirements when buying equipment.
Storage Solutions
Local Storage: One-time purchase, no monthly fees. Fast access. Doesn't require internet. But vulnerable to theft and limited by physical capacity.
Cloud Storage: Protected from theft. Access anywhere. Unlimited retention. But monthly fees add up and requires reliable internet.
Hybrid: Best of both. Local for day-to-day access. Cloud backup for critical cameras.
Optimization Strategies
Motion-activated recording: Reduces storage 60-80%. Extends retention dramatically.
Variable frame rates: High rate during business hours, lower after hours.
Smart compression: Saves storage with minimal quality difference.
Mistake #7: Neglecting Network Security and Privacy
The Hidden Vulnerability
87% of businesses never change default camera passwords. Most don't know their system is accessible from internet. Hackers target insecure cameras because they're easy targets with massive payoff.
Cameras supposed to protect your business can become spy devices against you. Competitors watch operations. Hackers use cameras as entry point to entire network. Privacy violations create massive liability.
How Systems Get Compromised
Default Credentials: Manufacturers ship cameras with admin/admin or admin/12345. Hackers use automated tools scanning for default passwords. Takes minutes to find and access vulnerable systems.
Weak Encryption: Many systems transmit footage unencrypted. Anyone on same WiFi can intercept feeds.
Unsecured Internet Access: Many systems use basic port forwarding—completely insecure. Your camera system becomes entry point to entire business network.
Outdated Firmware: 93% of systems never get updated after installation. Known vulnerabilities remain exploitable indefinitely.
Securing Your System
Strong Authentication: Change ALL default passwords immediately. Use unique passwords with sufficient length. Different passwords for each component. Enable two-factor authentication if available.
Network Segmentation: Place cameras on separate network VLAN, isolated from main business network. Prevents hackers using cameras to access computers and servers.
Secure Remote Access: NEVER use basic port forwarding. Implement VPN for remote viewing. Block all direct internet access to camera ports.
Encryption Everywhere: Enable HTTPS for camera interfaces. Use encrypted protocols for video transmission. Secure cloud storage with end-to-end encryption.
Regular Firmware Updates: Check for updates monthly. Subscribe to manufacturer security bulletins. Test updates on single camera before deploying to all.
Access Control: Limit who can view footage. Log all footage access. Disable guest and demo accounts. Conduct regular access audits.
Privacy Compliance Checklist
☑ Signage Posted: Clear surveillance signs at all entrances
☑ Employee Notification: Written notification to all staff, camera locations disclosed
☑ Data Management: Documented retention policy, secure storage access controls
☑ Customer Rights: Process for footage review requests, deletion procedures
Warning Signs Your System Is Vulnerable
❌ Can access cameras from internet using simple IP address
❌ Never changed default username/password
❌ Don't know firmware version
❌ No privacy signage posted
❌ Cameras accessible via HTTP (not HTTPS)
❌ Same network as business computers
❌ No documentation of who has access
❌ Remote access works without VPN
❌ Can't remember last password change
❌ Installed yourself without security configuration
If three or more apply: Your system is likely compromised or imminently vulnerable.

Protect Your Business the Right Way
Small business camera installation requires strategic coverage, proper placement, appropriate equipment, backup power, adequate storage, and secure configuration.
These seven mistakes cost business owners thousands every year. Every mistake is preventable and fixable. But prevention is always cheaper than correction.
If planning new installation, take time to do it right. Map coverage. Choose appropriate equipment. Budget for backup power and storage. Configure security properly.
If you already have cameras, audit your system against these issues. Most problems can be fixed without replacing everything—but only if you address them before an incident exposes the gaps.
Your security system should protect your business, not create vulnerabilities. It should capture evidence when you need it, not fail at the moment of truth. Get it right the first time, or fix it before you learn these lessons the expensive way.