Business Video Surveillance: Night Vision Setup Guide
Look, I'm gonna be straight with you - most commercial property managers don't think about their surveillance system's night vision capabilities until something goes wrong after dark. Then you're sitting there trying to make out whether that blur on screen is an actual intruder or just your camera's terrible low-light performance playing tricks on you.
Here's the thing that nobody really tells you when you're managing multiple properties: about 60% of property crimes happen between 6pm and 6am. And if your business video surveillance system can't capture usable footage in those conditions, you might as well be throwing money at a very expensive paperweight.
I've seen property portfolios where managers spent solid money on decent camera systems, but they never bothered understanding how night vision actually works. So when they needed footage from a tenant dispute or an after-hours incident, all they got was grainy shadows that wouldn't hold up in any insurance claim or legal situation.
Setting up proper night vision for your commercial properties isn't rocket science, but it does require you to understand a few things that most installers won't explain properly. They'll sell you on "military-grade infrared" or "4K night clarity" without telling you that your specific property layout might make half those features completely useless.
In this guide, we're gonna walk through everything you actually need to know about night vision for multi-property surveillance - from the tech that matters to practical installation and troubleshooting. Whether you're protecting one building or twenty, this stuff applies.
Understanding Night Vision Technology for Commercial Properties
Right, so before we get into what cameras to buy or where to mount them, you need to understand how night vision actually works in commercial surveillance. And I mean really understand it - not just the sales pitch version you'll get from most installers.
The Three Main Night Vision Technologies
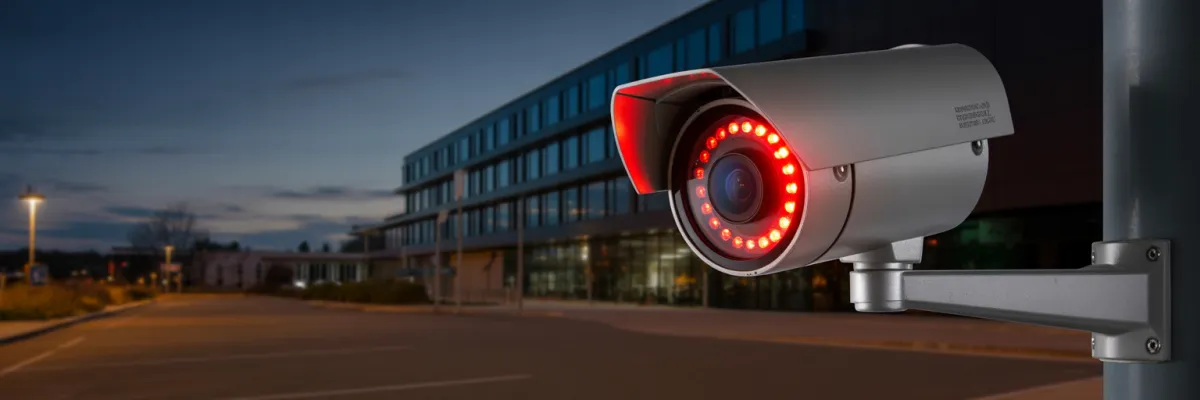
When you're looking at business video surveillance systems, you're basically dealing with three different approaches to capturing footage in low light.
How Night Vision Range Actually Works
Here's where installers love to mislead you. They'll throw out range numbers like "100-meter IR range!" without explaining what that actually means in your specific situation.
IR range depends on a bunch of factors - the size of the object you're trying to see, camera angle, obstacles, weather conditions. And those range specifications? They're tested in perfect lab conditions that don't exist in real properties. No humidity, no dust, no rain, no insects flying around creating false motion alerts.
I've seen managers spec out cameras based on range numbers, then wonder why their "80-meter" cameras barely cover 50 meters of their actual car park. The manufacturer tested that range pointing horizontally across flat ground in controlled conditions, not angled down at 30 degrees in actual use.
The Resolution vs. Low Light Trade-off
Higher resolution sounds great on paper. 4K gives you four times the pixels of 1080p, which means better detail, right? Well, yeah - but only if you've got enough light hitting the sensor.
When you cram more pixels onto the same size sensor, each individual pixel gets smaller. Smaller pixels collect less light. Less light means worse performance in low-light conditions. It's basic physics that marketing departments don't like talking about.
So you end up in situations where a 4K camera actually gives you worse night footage than a good 1080p camera with larger pixels and better low-light sensitivity. For most commercial applications across a property portfolio, you're better off with really good 1080p or 2K cameras that perform well at night.

Choosing the Right Night Vision Cameras for Different Property Types
The camera setup that works perfectly for your office building is gonna be completely wrong for your industrial warehouse. Here's what actually makes sense for different commercial properties.
Office Buildings and Professional Suites
Office buildings have advantages when it comes to night vision - decent ambient lighting from streetlights, neighboring buildings, and emergency exit signs.
For main entrances and lobbies, you want cameras that can handle the contrast between bright outdoor lighting and dimmer interior spaces. Starlight cameras work really well here because they use the ambient light that's already there, giving you better color accuracy for identifying people.
Interior hallways with emergency lighting can handle standard IR cameras fine. Multi-level car parks are trickier - you've got concrete pillars creating shadows, varying light levels between floors, and vehicles blocking camera views. IR cameras are your main option here.
Retail and Street-Level Commercial
Getting usable footage through glass at night is genuinely difficult. The IR from your camera reflects off the glass instead of going through it, so you just see your own reflection plus glare.
For retail tenancies, I usually recommend external cameras covering the entrance area and separate internal cameras for inside the shop. Trying to do both with one camera through glass just doesn't work well at night.
Industrial and Warehouse Properties
Industrial properties are the most challenging for night vision - large areas, minimal lighting, and harsh environmental conditions.
Loading docks need cameras that can clearly capture activity 20-30 meters away, handling vehicles backing in and out with varying light conditions from truck headlights to complete darkness.
Large warehouse interiors with high ceilings are worst-case scenarios. You're mounting cameras 8-10 meters up trying to see floor-level activity in mostly dark conditions. You need cameras with serious IR range and narrow enough fields of view to actually resolve useful detail from that height.
For perimeter security, thermal cameras make sense despite higher costs. They can detect people approaching from hundreds of meters away, then you use high-quality IR cameras at entry points for identification.
Mixed-Use Developments
Mixed-use properties combine all the challenges - retail storefronts, office areas, residential sections, and multiple tenant types with different security expectations.
At night, this means choosing camera types and positions that respect privacy while still providing security. Cameras with privacy masking features let you black out windows or specific areas while still monitoring hallways and entrances.
Better to use appropriate cameras for each zone - starlight for well-lit retail areas, IR for darker hallways, high-range IR for car parks - rather than compromising performance everywhere with one camera type.
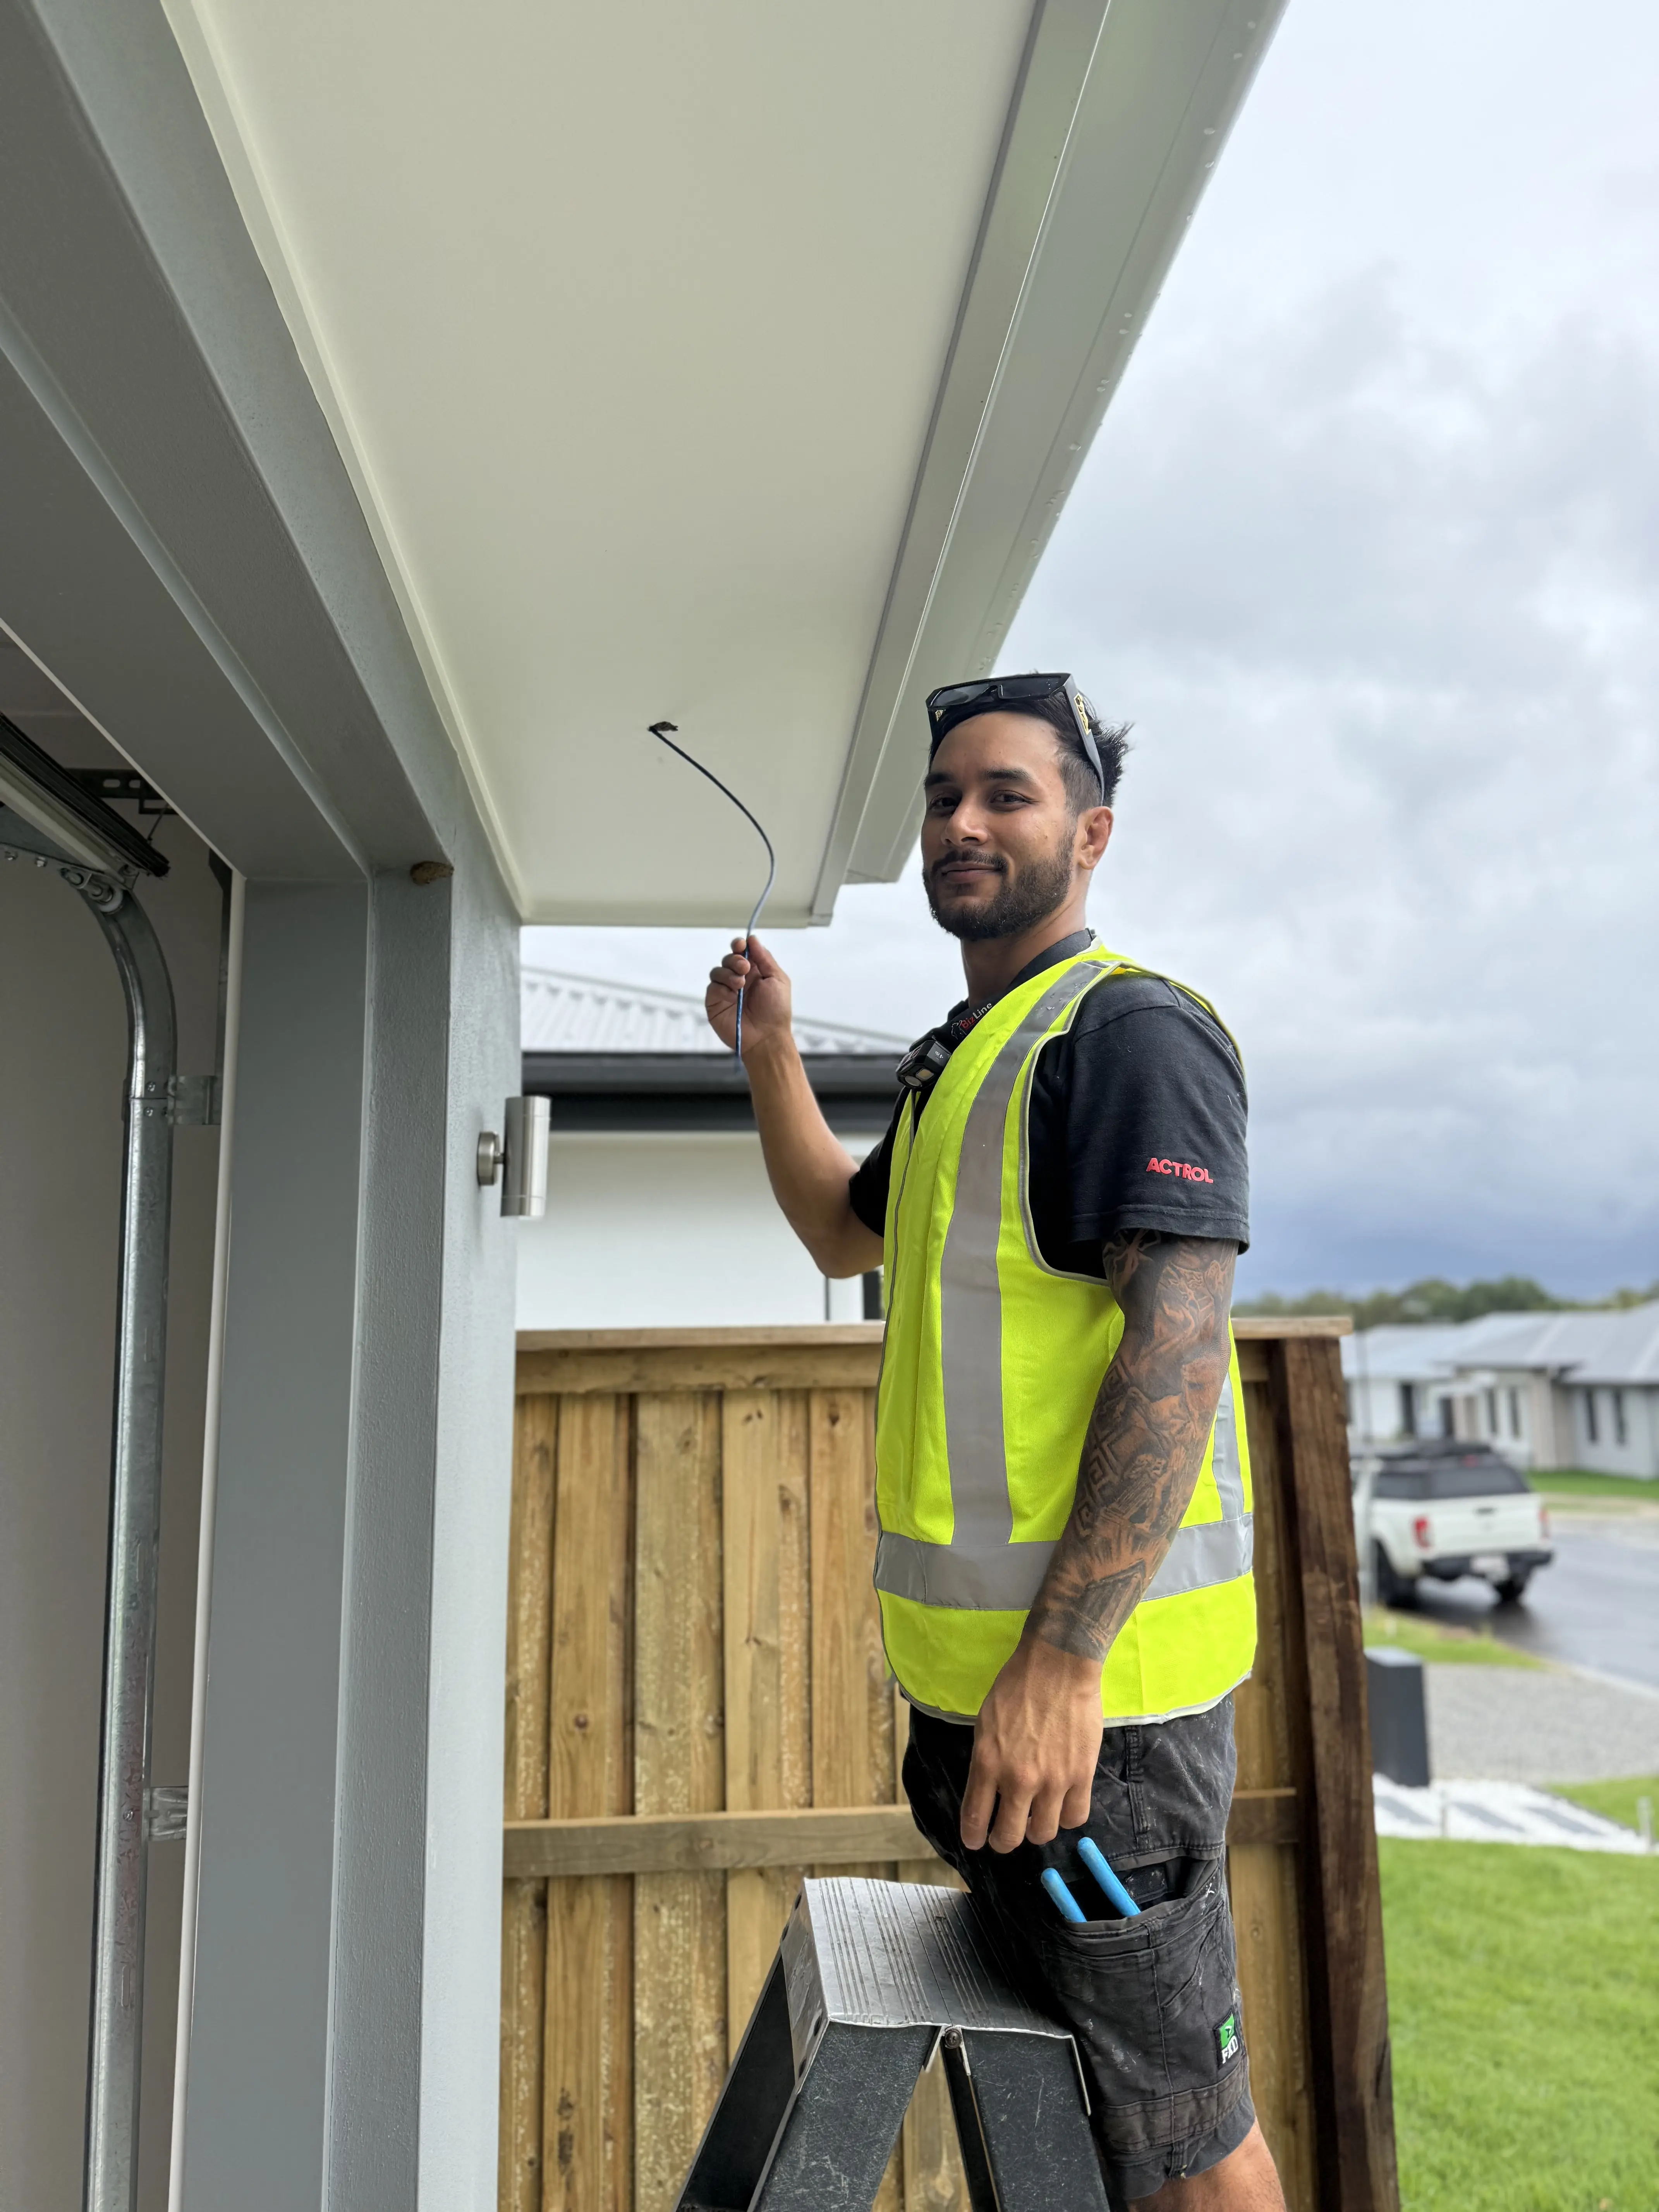
Installation Best Practices for Night Vision Coverage
How you install cameras makes a massive difference to whether your night vision actually works when you need it.
Camera Positioning and Angles
The angle you mount a camera at changes everything about how well it performs at night. Here's a rule that most people ignore: for every meter of mounting height, you lose effective range for identifying people. A camera mounted at 3 meters can identify someone clearly at maybe 8-10 meters. Mount that same camera at 6 meters and your identification range drops significantly.
This matters because commercial properties often require high mounting to prevent tampering. You need cameras with better zoom and resolution than you'd think just looking at the area you're covering.
Avoiding IR Reflection Problems
IR light bounces off reflective surfaces - glass, metal, glossy paint, wet pavement. Mount a camera too close to a wall and you get reflection back into the lens. You need at least 30-40cm clearance from walls and reflective surfaces. And you absolutely cannot mount IR cameras inside looking out through glass - the reflection makes night footage completely useless.
I've seen entire camera systems where half the cameras were basically blind at night because they were positioned without thinking about where the IR light would actually go.
Overlapping Coverage Zones
Single cameras create blind spots. You want overlapping coverage where multiple cameras can see the same area from different angles. This is especially true for entry points and high-value areas. Having footage from two angles means if one camera gets glare or reflection issues at night, you've got backup.
Lighting Considerations
If your property lighting is working against your cameras, you're gonna have problems. Some property managers think adding more lights helps surveillance. Sometimes it does. Often it just creates worse glare and contrast problems.
If you're adding lighting for security, position it to light up the areas you're monitoring without shining directly at cameras. Use directed lighting that illuminates specific zones rather than flood lights that create uneven brightness everywhere.
Weatherproofing and Environmental Protection
IP66 is the minimum you should consider for outdoor cameras. IP67 is better. But honestly, the rating matters less than how the camera is actually installed and sealed.
I've seen IP67-rated cameras fail within months because the installer didn't properly seal the cable entry points. Water gets in through the cable glands, condensation builds up inside, and suddenly you've got a dead camera or fog inside the housing ruining your night vision.
Use proper cable glands rated for outdoor use. Apply sealant around entry points. And run cables in a way that water runs away from the camera, not toward it. Drip loops in the cable before it enters the housing mean water drips off rather than running into the connection.

Managing a Portfolio-Wide Night Vision System
If you're managing multiple commercial properties, you've got additional challenges around standardization, monitoring, and consistency across the portfolio.
Standardization vs. Property-Specific Solutions
Using the same camera models across your portfolio makes life easier - property managers only need to learn one system, spare parts work across properties, and training is simpler.
But standardizing on the wrong cameras because they work great at one property type can create problems at others. The cameras perfect for your well-lit office building might be completely inadequate for your dark industrial warehouse.
The smart approach is to have a standard camera selection that covers maybe 80% of your needs across properties, then specific models for unique situations. Build yourself a framework for deciding what cameras go where based on lighting conditions, property type, and coverage needs.
Centralized Monitoring and Management
Your surveillance system needs to aggregate footage from all properties into one management interface. Getting footage from multiple properties when there's an incident shouldn't require logging into separate systems with different credentials.
This particularly matters at night when incidents are more likely. If there's a break-in reported at one of your properties, you need to access footage immediately.
Centralized systems should let you check camera health across the portfolio. For night vision specifically, you want alerts when cameras aren't switching to night mode properly, when IR illuminators fail, when image quality drops below acceptable levels.
Maintenance and Lifecycle Management
You can't just wait for cameras to fail and react. IR illuminators lose brightness gradually - you might not notice it until night footage becomes unusable.
Set up regular maintenance checks for each property. Keep records of which cameras are having issues, what type of issues, and how frequently. You'll start seeing patterns that help you make better decisions about replacements and upgrades.
Troubleshooting Common Night Vision Problems
Even with perfect installation and good cameras, you're gonna run into night vision issues. Here's how to diagnose and fix common problems.
Image Quality Issues
If your night footage looks grainy or has tons of static, that's usually wrong camera settings or a camera that isn't suitable for the light levels in that location. Check your camera's gain and noise reduction settings first. Too much noise reduction makes footage look smudgy. Too little leaves it grainy.
Images that look sharp during the day but go blurry at night usually mean IR focus issues. Good cameras have IR-corrected lenses that maintain focus across visible and IR light. Cheaper cameras don't, and you get this exact problem.
Coverage and Range Problems
Humidity, dust, light rain, and insects all scatter IR light and reduce effective range compared to lab specs. If you need longer range and can't get it from your current cameras, external IR illuminators help. These are separate units that blast IR light further than camera-integrated illuminators.
Areas where coverage drops to nothing at night but looked fine during daytime planning usually means you didn't account for how IR coverage works. IR light doesn't bend around obstacles like ambient light does. Obstacles create hard shadows where the camera sees nothing.
Technical Problems
Camera stays in daytime mode even after dark? Usually this is the light sensor failing or being positioned where it can't accurately detect light levels. Check that nothing's covering the sensor.
IR LEDs gradually lose brightness over time, then eventually fail completely. If night footage is getting progressively darker or cameras suddenly can't see anything at night, IR failure is likely.
Environmental Issues
Foggy images at night that clear up during the day means condensation inside the camera housing. Short term, adding desiccant packs inside the housing helps. Long term, you need better-sealed cameras.
Spiders building webs across camera lenses overnight, or moths constantly triggering motion detection - insects love IR illumination. Motion detection zones can be configured to ignore small objects very close to the lens, reducing false alerts.

Final Thoughts
Business video surveillance is only as good as its worst-performing scenario. And for commercial properties, that worst-case scenario almost always happens after dark when nobody's around to witness what actually went down.
The difference between surveillance that works and surveillance that wastes money comes down to understanding what you're actually trying to achieve. You need cameras with night vision capability that matches your specific property conditions - not what worked great at someone else's building, but what'll perform in your actual environment.
You need installation that accounts for how IR actually works in real conditions. Camera positioning that avoids reflection problems, weatherproofing that handles local climate, and coverage planning that eliminates blind spots where incidents can happen unrecorded.
And you need systems that you can actually manage across multiple properties without needing a dedicated surveillance team. Centralized monitoring, consistent performance, and maintenance schedules that keep cameras functioning rather than waiting for failures.
Getting night vision right requires attention to details that many installers and property managers skip. Understanding how the technology actually works, planning for specific conditions, choosing appropriate equipment for each situation, and maintaining it properly over time.
Your properties deserve security infrastructure that functions as well at 2am as it does at 2pm. Your tenants deserve coverage that makes them feel secure working late or arriving early. You deserve systems that provide evidence when you need it.
That's what proper business video surveillance with functioning night vision delivers. Everything else is just cameras on walls hoping for the best.